Shop / audiocontrol audiocontrollc2i pro
(1,254)
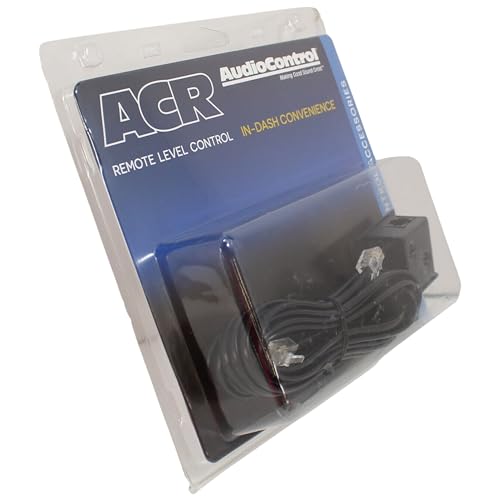
ACR3 Remote for Audio Control Processors
Price:
$
37.70
$24.88
Please select
[[pageData.product_sku.sku_code_add.show_name]]
ADD TO CART
ADD TO CART
Add to wishlist
Category: audiocontrol audiocontrollc2i pro

About this item
- Bracket Installation: The dash control mounts with two screws, which attach to the underside of the dashboard. Slide under the dash and place the dash control in its mounting position, mark the two mounting holes, drill pilot holes, and secure with two screws.
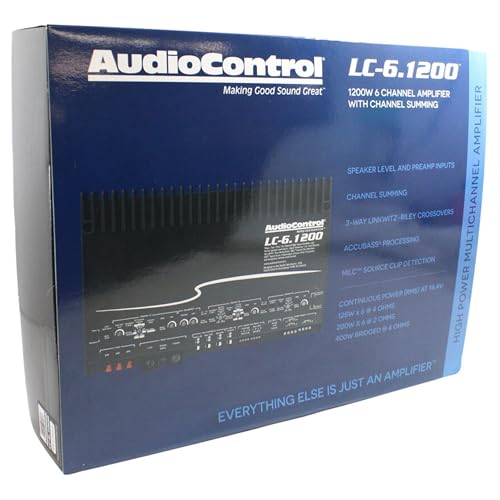
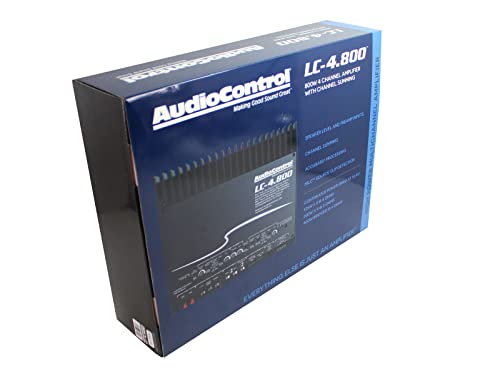
- Works with: LC8i, DQ-61, DQDX, D-4.800, D-6.1200, DM-608, DM81, and The Epicenter Amplifiers.
- Mounting Options: The dash control may be mounted under the dash using its own bracket or through a custom hold in the dash. It should be within reach of the driver and in a spot where the LED is plainly visible
- This wired remote (ACR-3) allows you to easily change the input source, adjust the auxiliary input volume, and adjust the output level of channel 4 (often used for a subwoofer) of the AudiControl LC8i. The remote is designed to be dash mounted, within reach of the driver; it can be mounted under the dash with the supplied bracket, or the bracket can be removed and the knob and LED can be custom mounted through the dash. Pressing the knob engages the auxiliary input.
- Custom Installation: For that custom, finished look, the dash control can be flush mounted directly on the dash-board (or anywhere else). Disassemble the dash control from the mounting bracket. Start by pushing the LED from its holder followed by removing the circuit board and rotary control from the bracket. Drill a 9/32" hole in the dashboard for the control along with a 1/8" hole for the lock tab and a 13/54" hold for the LED holder. Reassemble the dash control components on the dashboard.
loading...
loading...
loading...


-34%